WOODTURNING BASICS: Seven Handy Kitchen Items
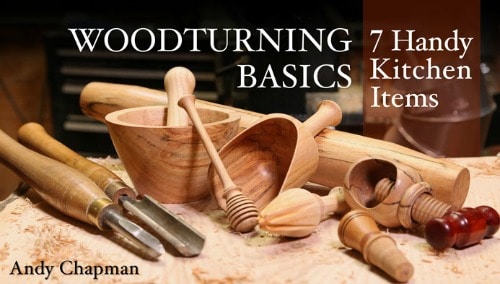
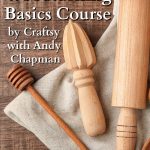
Woodturning is fun. It is even more fun when you can make a turning that someone else likes to use. You get the pleasure of creating and the pleasure of seeing it in use. Everyone needs basic kitchen utensils like a rolling pin and a citrus juicer. These are great projects to learn your woodturning basics.
It is easy to fall into a rut with your turning. You make the same thing the same way. You use the tools the same way. You can get too comfortable. It is good to expand your skills and try turning something a little different.
That was the main reason I signed up for the (affiliate) Craftsy woodturning basics course. It stretches what I am willing to try and it shows me how another turner would approach a project or a specific cut. It is nice to have the same instructor for all seven projects as well.
Andy Chapman has been turning professionally since 2012. He lives just east of Seattle WA. His English background is still present in his accent and humor. I enjoyed him as an instructor.
Format of the Course
Woodturning basics is a video course. Each project is presented in sections so you can select which technique you want to see. The first time through I watched the video straight through. When actually working on the project I was quickly able to find the section that I needed to review. There is no time limit on the course and you can review and repeat as often as you would like.
Questions are presented on the right of the screen. The time on the question is when on the video the question was asked. It may or may not relate to what the video was demonstrating at the time. The questions were all replied to by the instructor.
There is also a basic list of materials / equipment required. While I did not have all of the tools mentioned there were alternatives suggested by the instructor. This lets me see a new tool in action first.
The presentation and additional information to support the video were well organized, easy to find, and use.
Basic Woodturning Instructions
Safety awareness is present in all the projects and introduced nicely in Lesson #1. I would add that if you don’t feel comfortable with a particular approach, don’t do it, and find a way that is more suitable and appropriate for you.
Use of woodturning tools are presented for roughing gouge, spindle gouges, skew chisel, parting tools, bowl gouges, hollowing gouge, and scrapers. The appropriate speed for turning the projects, at various stages, is presented frequently.
The instructor also reviewed the basics of cutting with the wood grain and how turning bowls differs from spindle turning. I had learned that before but it was great to get a refresher on it again.
Different methods of attaching the work to the lathe were covered as well.
- Between centers with a drive spur and live center
- Using a screw chuck
- Using a 4-jaw self-centering chuck.
There are seven projects included in the woodturning basics course.
Seven Handy Kitchen Items
-
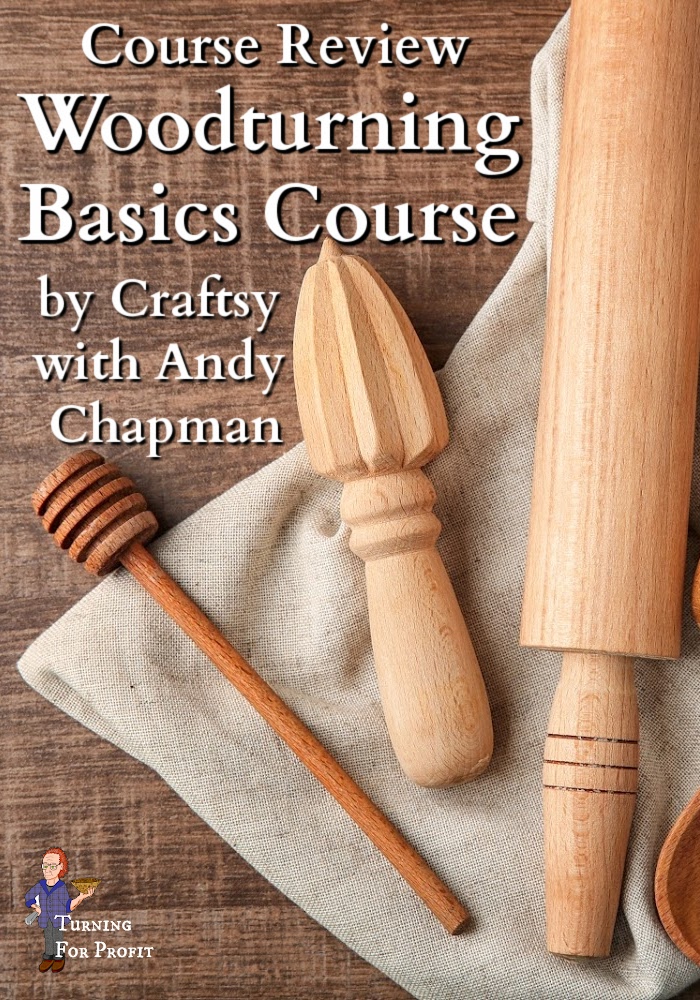
Rolling Pin
The key technique is using the skew chisel to get a very smooth surface. I liked watching Andy take very delicate cuts to achieve the final surface on the roller. I have used his method on turning a ball winder.
-
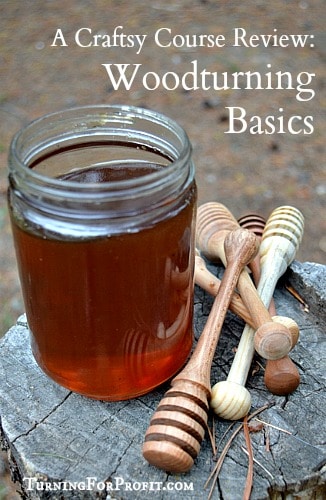
Honey Dipper
I did this project. Cutting coves and beads was the main technique shown. Shaping the head and using the parting tool were helpful. I have a post on turning Honey Dippers.
-
Wine Stopper
Uses old wine corks and shows how to shape and smooth them out. I hadn’t seen this anywhere else before. This would save the cost of a bottle stopper kit. However if you were going to sell your wine stoppers to the public you should use new corks. They are not that expensive.
You also see how to do a wire burn on your turnings. After cutting a small groove hold a wire in place and let the friction burn the wood. This adds a very nice decorative touch to the resulting bottle topper.
-
Citrus Juicer
This project intrigued me because it uses both turning and carving. Andy uses a hex nut on the head stock to rotate and position the juicer to carve parallel channels in the juicer. I’m still puzzling out a solution as both my mini-lathe and regular lathe do not have an indexing option, or hex nut, available on the head stock. The carving utilizes a v gouge and is in a straight line so not too difficult. Make sure you are holding the juicer steady on the lathe when your are carving.
-
Pestle & Mortar
This is an introduction to bowl turning so, lots of instruction on how to turn with the grain, and the need for a bowl gouge rather than a spindle gouge. As the mortar needs to be fairly thick to handle heavy use this is a great first bowl project.
-
Flour Scoop
This new technique is end grain hollowing. He uses a hollowing tool and it looked easy to use. The hollowing with a spindle looks a little tricky but still doable. The final sanding of the scoop was done on a belt sander and not part of the video.
-
Nut Cracker
This was the most challenging project with drilling the base and multi chucking of the work. While the turning techniques are straight forward you will need specialized tools to finish this project. A 1″ wood-cutting tap and die to prepare the hole and screw for the nut cracker. As I have never seen wooden threads produced before this was very interesting to watch. The turning of the dowel and handle were not on the video.
Woodturning Basics Summary
This is a good video course. Easy to watch and navigate. One of the benefits was watching the instructor make the occasional slip with his tools and how he repaired the turning. Catches happen to the best of us and maybe more so when being videoed. I would rate this course 5 out of 5.
Woodturning Basics: Seven Handy Kitchen Items is a great introductory turning course. I would also recommend it as a good refresher course for anyone who has been away from the lathe for awhile.
Disclaimer
I am an affiliate with Craftsy.com. However I purchased this course from Craftsy directly and there were no incentives, from Craftsy, involved with my purchase. This is my honest opinion of this course.








[…] First was the hex shape on the back of the face plate. This is there so you can use a wrench to loosen the faceplate from your headstock. It is hex shaped so there are six faces to the nut. If I could attach something to the faceplate and rest it against the lathe bed then I would have a constant position and six reference points. A C-clamp and a block of wood worked. I saw a similar idea when making a citrus juicer in a Craftsy course I reviewed. […]