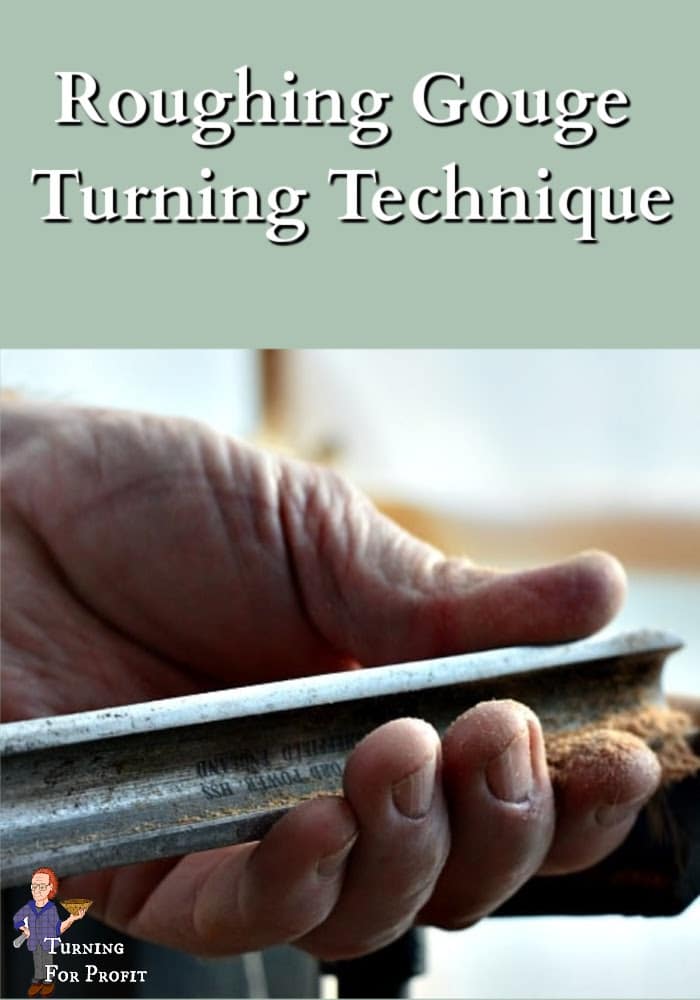
The roughing gouge is used to turn your rough wood down to round. The profile and shape on the gouge are suited to taking wood off of a spindle. This is usually the first tool you use on a project. It is long and heavy so that you can handle the torque generated by taking bites out of the wood after you have been turning air.
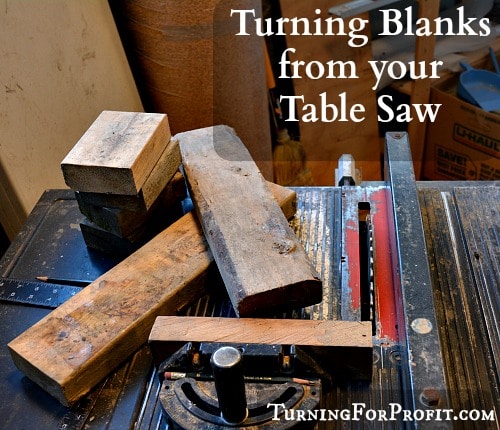
Turning air? Okay, let’s start with the basics. You go to the shop. Your rip a standard 2 x 4 into two turning blanks. They are square not round. As you use your roughing gouge to turn it round you start by hitting each of the 4 edges and slowly work your way down to a round turning blank. So at the start your tool is hitting wood, air, wood, air, wood, air, wood, air! Each time the tool and the wood meet it gives a bit of a knock. That is why you want a heavier tool. There is a tendency for the tool to move if it is cutting “air” and not wood.
How to present the roughing gouge to the wood
The key to using all of your turning tools is ABC. This stands for Anchor, Bevel, and Cut! (not catch!) This is very important as you start to rough turn your blanks. Anchor means having the tool on the tool rest. Bevel, is the area of the tool that is shiny from the sharpening and usually will be below the cutting point. The bevel can rub on the wood all day and not cut anything! This is a safe place for your tool. To move to cut you slide the tip of the tool down as you raised the handle of the tool beside your body. Do not lift the tool off of the tool rest!
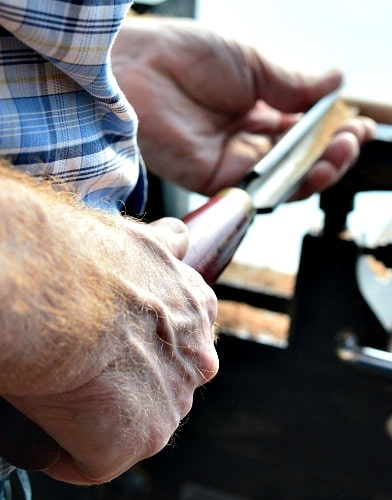
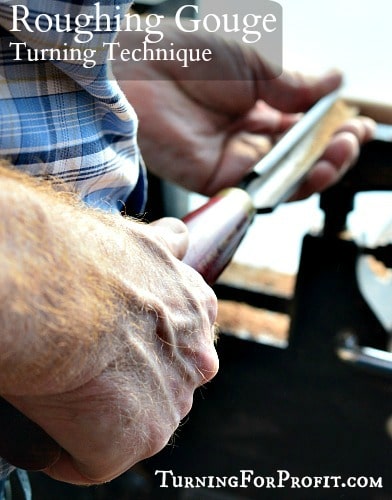
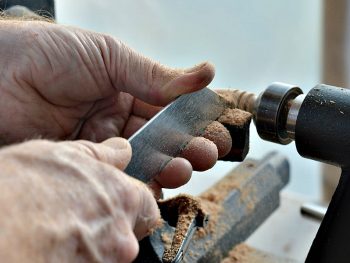
This image shows you that my back hand (right in this case) holds the handle and controls the gouge. The grip by the left hand is guidance not tight fisted.
As you move the tool into the cutting position you start by taking off dust rather than shaving. Now the cutting edge is just in contact with the wood. Angle your tool in the direction you want to move and bring the handle up a little. Now you should have shavings and be making a nice cut with your roughing gouge.
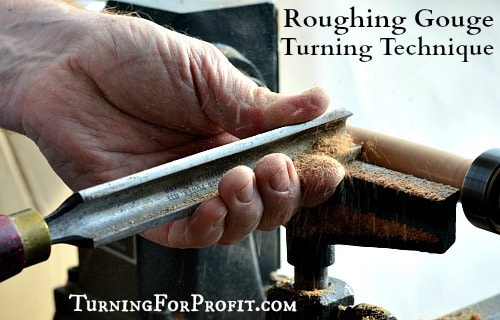
You can see the fine shavings. In this case I was making a honey dipper and I wanted the blank round but also as large as I could turn it. So I was taking very fine cuts at the end. Note again the front hand is not gripping the tool but guiding it along the tool rest.
So the roughing gouge, also known as SRG or Spindle Roughing Gouge, takes your wood from “rough” to round. While some turners do use the SRG as a bowl gouge it really does not have the right shape for turning bowls. A bowl gouge really will work better and easier than a roughing gouge for turning bowls.
Moving the Roughing Gouge
When I first turned stuff I had the flute of the gouge completely centered like a “U”. As I got used to using the gouge I rolled it over on its side to present a different angle to the turning. This will slice the wood easier while you are still riding on the bevel. You can also take your tool across your work from left to right or from right to left.
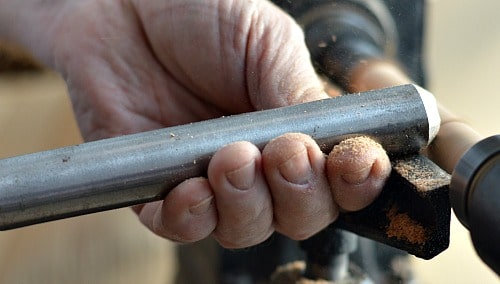
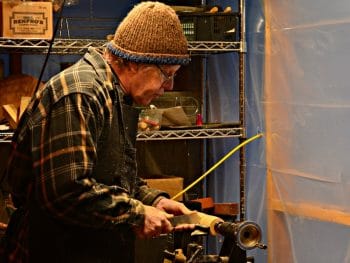
The roughing gouge is moving from my right to my left. The flute of the gouge is leading in the direction of the cut. In this case the leading hand is pulling the tool.
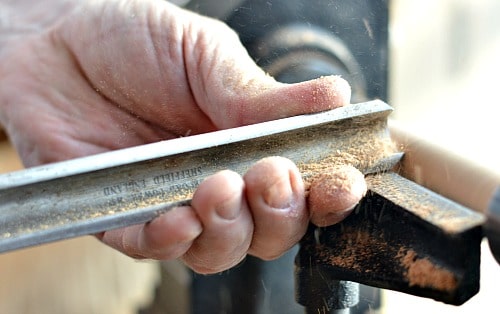
Now we are moving from left to right and the leading hand is pushing the tool across the tool rest. Remember do not overly grip your tools. If your hands are tense you’re heading for trouble. Stop the cut, relax your hands, and think about the cut you want to make and how it should go. Sometimes I forget too but it is always easier if you are relaxed with your tools.
When you are beginning it is better to move the roughing gouge from the center of your work to the outside edges. Once you are used to your tools you can come in from the outside as your hands will know what they are doing. This does take some time. You will this in the video below.
Turning blanks to round is fun and easy. If you happen to get a catch it is usually not too serious and you keep turning until you get past the damage from the catch. Experiment with the roughing gouge to see what angles and presentations work best for you. Remember ABC and that will cut down on your catches.
Video showing the use of a roughing gouge
This video shows me roughing a standard 2 x 4 in order to make a mason jar lid. This part focuses on using the roughing gouge. After the blank is mounted and I do a little turning you can see how each corner of the blank is being removed by the roughing gouge. This is a great example of showing “air turning”. The path that I am cutting is about an 18” circle and I am only cutting (at the start) about an inch of wood. So I’m turning a lot of air!
So this is how it looks. This is only the roughing out part of the process of turning a Mason Jar lid. I did this video before I heard about ABC otherwise I would have mentioned it. In my motions you can see me placing and practicing before I make the first cut. Help your body figure out how the cuts go by doing a non-cut first then touch the wood.
I hope you enjoyed the information on the roughing gouge. It is a key tool to help you quickly turn your blanks to round. They are also useful if there are sections of your turning that you need to remove a lot of bulk. If you were turning a honey dipper the handle is quite thin so you can use a roughing gouge to get close to your finished size and then use your spindle gouge and skew chisel to finish it off.
Turning For Profit
This post focused on the turning technique of using a roughing gouge. I have three other wood turning technique posts.
If you have any questions about the techniques of turning, turning specific projects, or the business of turning, please leave me a comment at the bottom of the page.
These posts are for you, the woodturner. If you like turning projects or articles related to the business of turning then please sign up for the Turning For Profit newsletter. Generally it comes out once a week and has links to the current articles, a bit on what I am up to, and usually a question for your response. You can sign up on the right side bar or just a little lower on the page.
I love wood turning and sharing with you. You can follow me on Facebook as well. Thank you for joining me on this woodturning journey. Have fun and remember to turn safely.





Robin your video on the roughing gauge is showing a no-no. This a spindle roughing gauge and as such is for cutting with grain and not cross grain as illistrated.
Robin,
Thank you for the information on the use of a roughing gouge! I’m a beginning turner so it was VERY informative and easy to understand.