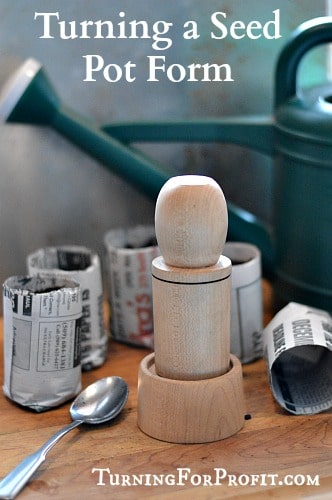
It’s seed starting time. You’ll want a few of these in your inventory for the farmer’s markets and craft shows. It’s used to turn pieces of newspaper into seed starting pots. Gardeners will love it. This easy to make seed starting pot form will help them save money and make good use of an item that’s usually thrown away. The paper pots can be planted right in the ground and there’s no plastic pot to store. It makes a great gift for all your gardening friends.
The seed starting pot form only requires a large blank. It doesn’t matter if it is hardwood or softwood as the tool doesn’t get hard wear.
How it works:
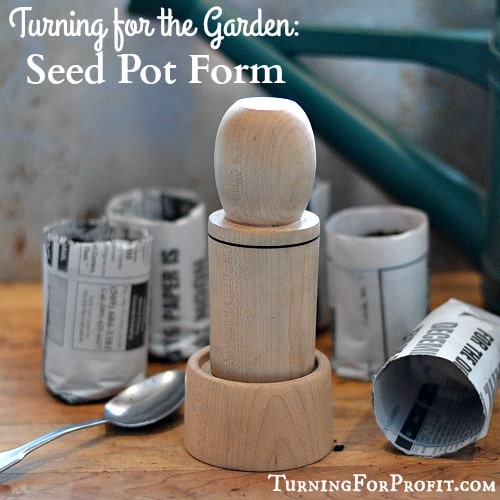
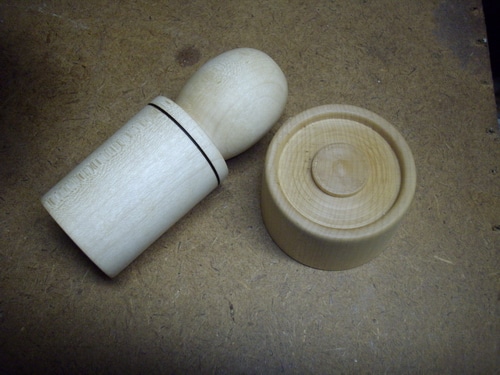
The tool consists of a handle and a form that you wrap the newspaper around. The base is small and solid so that you can press the form into the base and crease the paper to make the bottom of your pot.
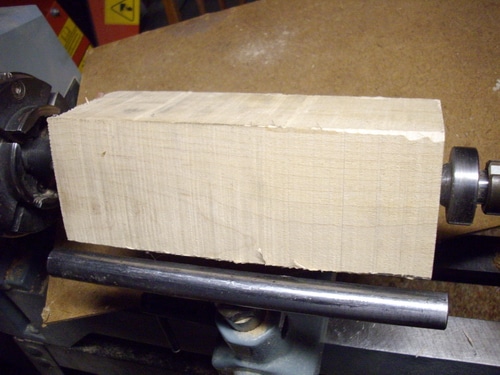
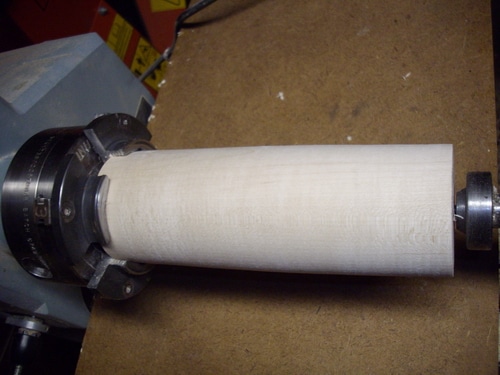
Start with a large blank between centers
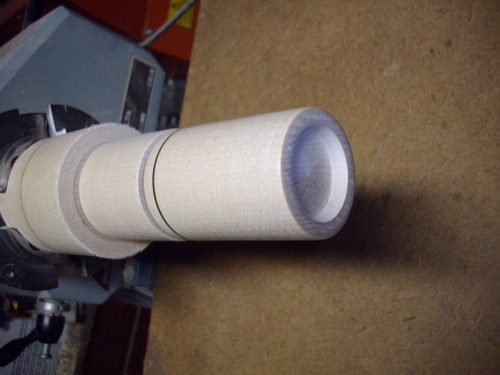
You do need a large blank that will give you a good diameter for your pots. This should be between two and three inches in diameter. Take about a 10” to 12” long blank and place it between centers.
Turn the blank round and smooth for the entire length of the blank. To finish the bottom of the form and the base turn the blank small enough to fit into your chuck.
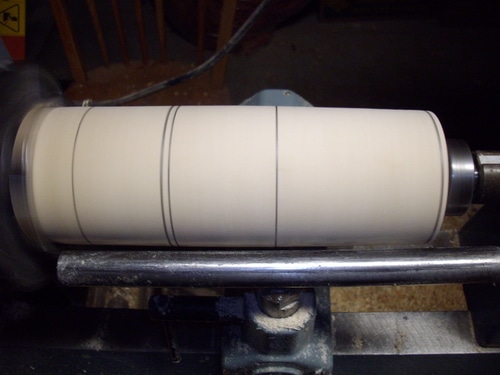
Mark the blank:
Mark the blank as shown to create a handle and form for the paper pots. This would be about 2/3rds to 3/4 of the length of the blank.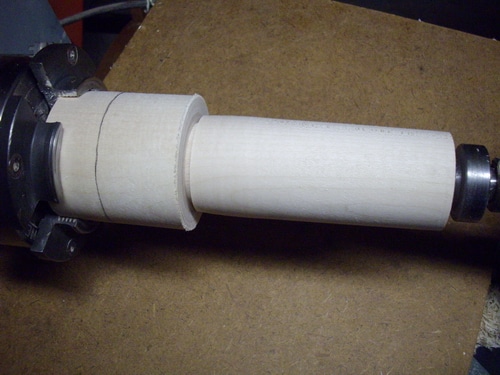
Turn the handle:
While still between centers turn the handle down to the desired size. Move the blank into your chuck.
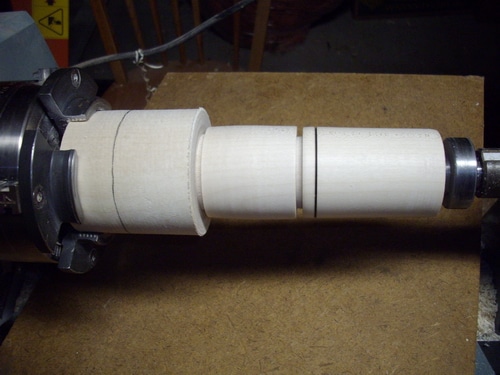
Decorative wire burn:
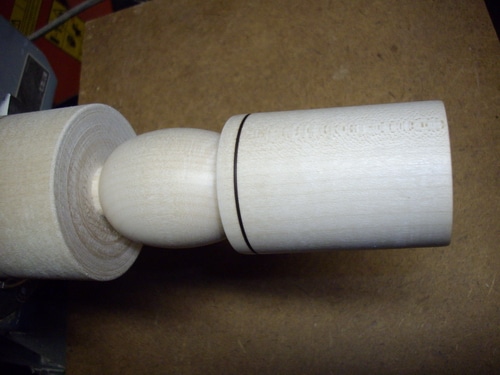
Here you can see the section for the handle, the wire burn on the form, and the slight taper on the form to enable the newspaper pots to slide off the form. I made a small groove at the top of the form just below the handle. This allows you to use a wire to burn the line around the wood.
Finish the bottom of the form as shown. This gives a better shape to your pots.
Shape the handle to be comfortable in your hand. The form for the pots needs to be a small enough diameter to fit inside the base of the tool. The form should taper very slightly to enable the newspaper pots to slide off the form. Have a look at the end of the post if you need an idea of the sizes. Turning the form about 3/8″ to 1/2″ smaller than the base should work.
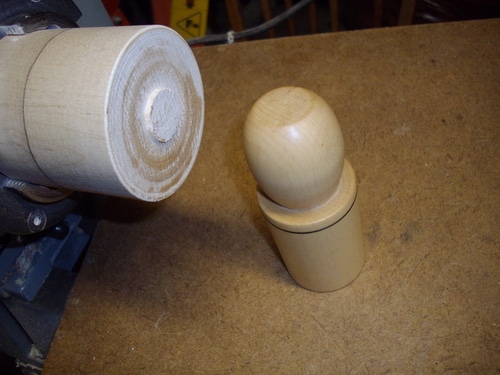
Here are the finished handle and form.
Finish the base of the form:
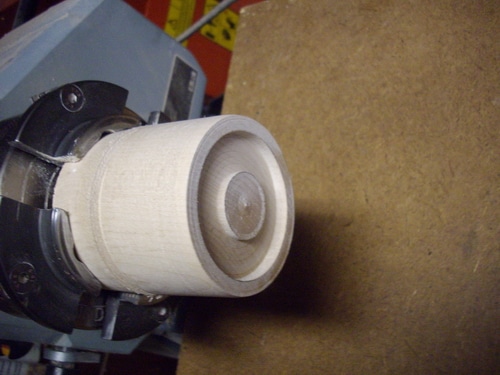
Finish on the lathe:
Keep the bump in the middle of the base to assist in shaping the pots. Smooth all surfaces and finish the same as the handle. I used carnauba wax applied right on the lathe.
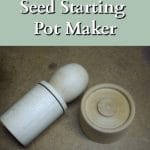
Here is the tool finished and ready for use.
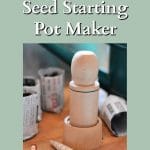
Rip a piece of newspaper so that it can be rolled around the form then press the bottom onto the base to finish the shaping. That is all it takes to make your own paper pots for seed starting.
Find more garden tools to turn here and how to turn a garden dibbler.
Seed Starting Pot Form as a product at the Farmer’s Market
This is a good product for the early Farmer’s Market. The farmers are outselling bedding plants, seeds, and seedlings. This tool lets the gardener make biodegradable pots that can go directly into the ground. If the gardener is planting directly into the soil they should only wrap the newspaper around for one or two layers otherwise the plant may get root bound before the newspaper biodegrades.
These pots can also be used to start seeds inside your house before they can be planted outside. Before you throw out your old seeds you can test their germination. Then if the seeds are viable you can make as many pots as you need.
Here are a couple of articles to help you Master craft sales and avoid common craft fair mistakes. Please check out the profit category on this site for more business related articles. If you would like to keep up with business posts and woodturning projects please sign up for my newsletter.
I would like to see what you’ve turned. Thanks.






[…] needed at this time of year are small pots for starting seedlings. This project shows you how to turn a form that lets you make newspaper […]