Turning a cup holder extension
I have an awesome coffee cup. It keeps the coffee hot for a long time. But it does not fit into the cup holder in my car. In order to solve the problem of not being able to use an extra-large coffee cup in my car’s cup holder, I had the idea of turning a cup holder extension. The extension would fit into the existing cup holder. It would also be a bit taller so it could be wide enough to hold my larger cup. The idea seemed simple but I could see that getting everything to fit would be a bit of a challenge.
Design Considerations
The taper on the bottom part would be a challenge to get right. The cup holder was moulded into the area between the driver and passenger just in front of the seats. It was not symmetrical but made out of plastic and fit the shape and curves of the car. I used a ruler and calipers to figure out the initial dimensions that I needed. As I was turning this project I thought it would have been much simpler to find a disposable coffee cup that fit in my car’s cup holder and to take the dimensions off of that! More on that near the end.
Shop notes are essential
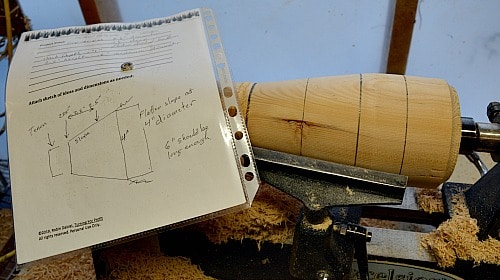
With this project keeping a record of the dimensions and the adjustments I made to the project were a necessity. I used the Shop Note Template to record my ideas and progress as I turned the project. While I kept the notes to the side they were very needed on this project.
Turning the Cup Extension
Initial preparation
The blank selected for the cup extension was 5 x 5 x 9 which should be more than large enough. I turned the blank round between centers as a first step.
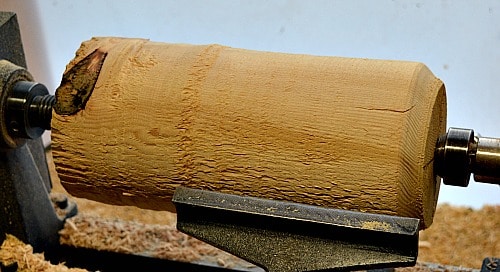
Next I turned one end of the blank down so that I could hold it securely in my chuck. I then used my parting tool to turn the blank to the diameters required on the cup extension.
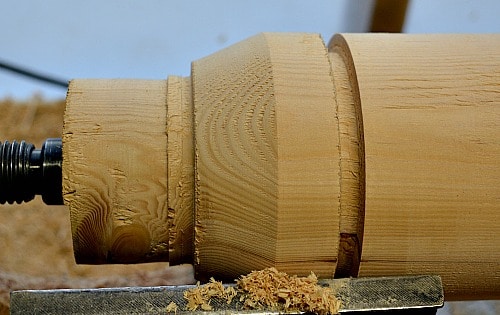
The next task was to connect the two parting cuts, creating a tapered bottom to the extension that would fit into the moulded cup holder in the car. I compared my turning with my shop notes frequently because I wanted the extension to fit well.
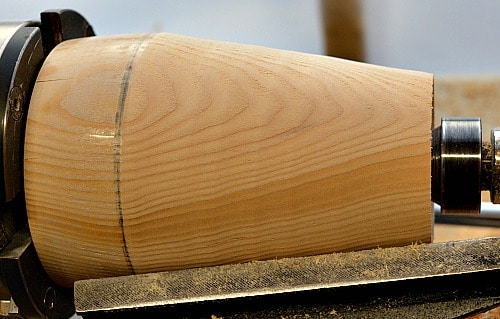
The outside diameter of the cup extension was to be 4” or slightly larger. The marks help me to make sure I’m getting the taper right. With the blank still between centers, I turn the taper for the bottom of the cup and I remove wood from the top as well. This gives me the basic shape and size for the cup extension.
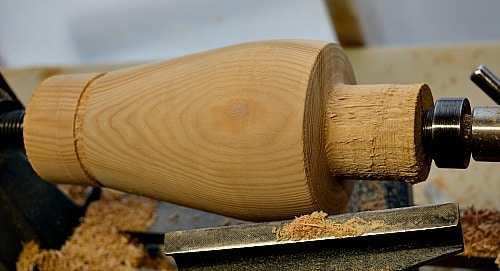
Turning the outside of the extension
Fitting the blank into my chuck I’m ready to finish shaping the outside of the turning. At this point I also sanded and waxed the turning. Given the challenge of fitting the extension into my car’s cup holder I could have saved time by finishing later when I got it to the right size.
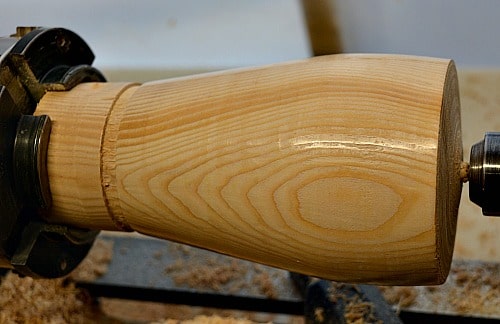
Moving my tool rest towards the tail stock I’m ready to start hollowing out the recess for my coffee cup. I left the tail stock in place.
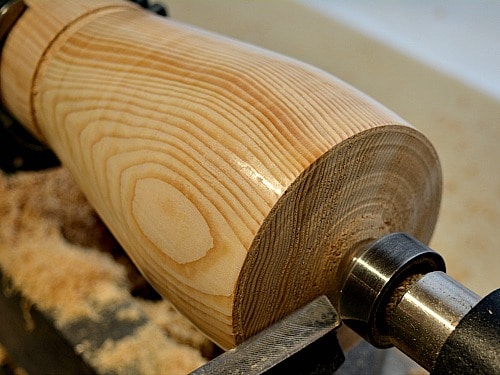
Hollowing end grain can put a lot of torque on your turning and I like to help my chuck out by not relying on it too much. This is the same technique that I used in making the bowls for the bird feeder.
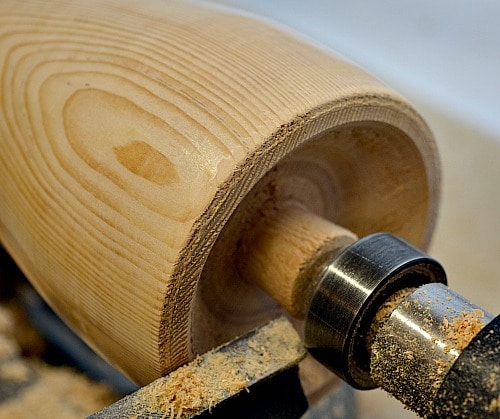
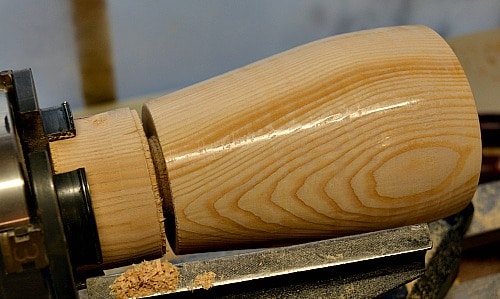
I wanted between ¾” and 1” depth in the cup to provide a secure base for my larger coffee cup. The inside can be hollowed out and doesn’t have to be perfectly flat. Once the cup base touches the bottom of the recess it will be stable. In hind sight I should have enlarged the recess by 1/16th of an inch, or so, so that I could still get my coffee cup in with the slight wood movement that took place later.
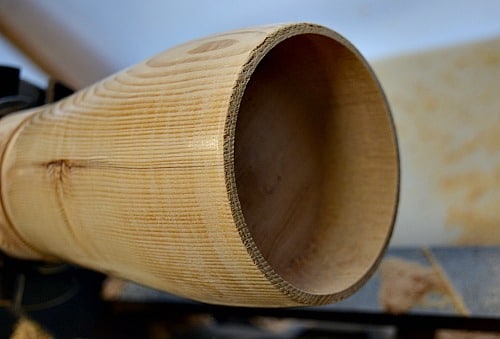
As you can see the coffee cup is held quite securely in the extension. I had no trouble fitting the cup in as I checked the fit in the car and everything else. The next day the thin edge of the recess had moved hence the need to have a slightly larger recess in the extension.
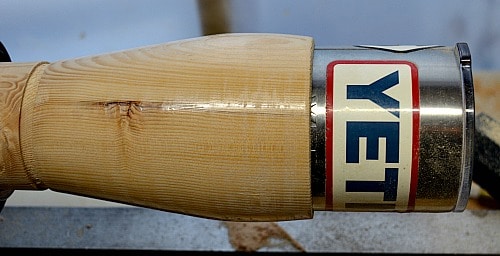
The next step is to part the cup extension off of the lathe. This can have an indented base as it will be the rim of the base that makes contact inside the molded cup holder. Remember to cut the parting groove about ½ a tool width larger so you don’t bind as you make the parting cut.
Adjusting the cup holder extension
First try in the car. I have to move the gear shift out of the way in order to insert the extension and the coffee cup. It is also very awkward to get the cup into the extension. So it is too tall. Time to make some adjustments. Back to the lathe!
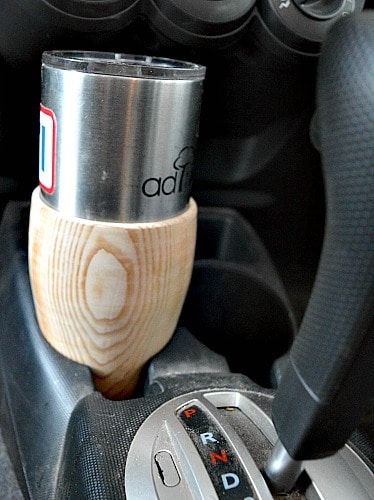
Well, the recess will be a good place to expand my chuck jaws to hold the extension while I pare down the outside and make the extension shorter. I put a pencil mark at the bottom of the recess and then started the taper from there. It is quite a bit shorter now.
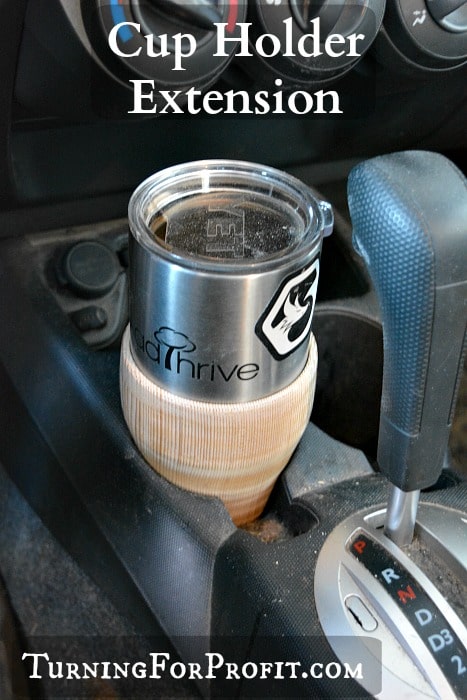
Now the cup extension fits easily into the cup holder in the car. I don’t have to move the gear shift. My coffee cup is secure and we’re good to go.
Reflection on the process
I did produce what I wanted. That is, a wooden cup extension that would allow me to use my larger coffee cup easily in my car’s cup holder. I think there is an easier way to do this and I’ll tell you what that is. Go and get a cup of coffee. ( I know you don’t need an excuse but this will do.) Pick the size that best fits the cup holder in your car. Now you have the model for your extension.
The one I picked up is 2 and 3/8th inches in diameter at the bottom. It is 3 and 3/8th inches in diameter at the top. The height is 4 and 1/4 inches. Use these measurements from your cup to determining the taper on your extension. It is much easier to work from the cup rather than trying to figure it out from the holder in the car directly.
Now the base of my large coffee cup would not fit into the disposable cup I bought so I would have to extend the taper until the extension was wide enough for both the cup and the wall thickness needed for the recess. You could also come straight out once you had cleared the cup holder in your car. I hope this process works for you as well.
Turning For Profit
I hope you liked this project. This one turned out fairly good. Sometimes you have to make what some turners’ call a Rapid Design Change like I did with this pen and pencil pot. If you like your coffee to stay hot for a long time you can get a mug through Amazon that is just like mine. Please look at the Turning For Profit project list if you need more ideas for your next turning project. Thank you for reading and remember to turn safely.


