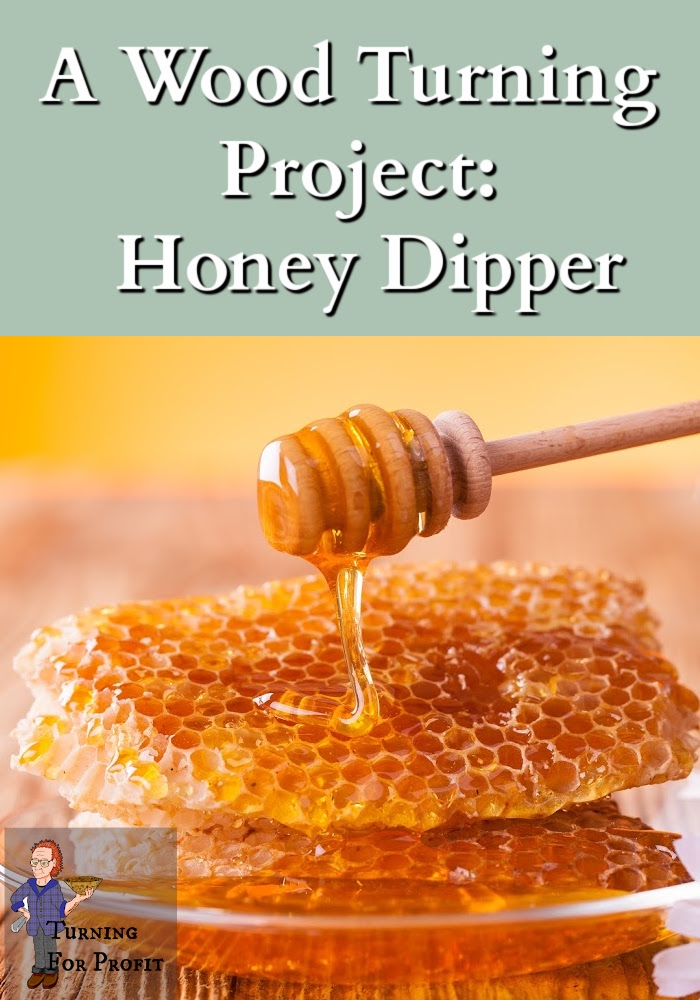
Inventory Project – Honey Dipper
A Honey Dipper is a sweet and easy product to have in your inventory. They lift liquid honey out of jars and let you drizzle the honey into your tea or on your toast. With no extra hardware and no precision turning required, honey dippers are a great addition to your inventory.
Honey Dipper
The Honey Dipper is used to control the flow of liquid honey. The slotted spaces allow you to pick up lots of honey, and by twirling the dipper you can control how much is in your tea or on your toast. Different shapes on the dipping end affects how much honey is picked up. They are a sweet turning project.
Materials & Tools
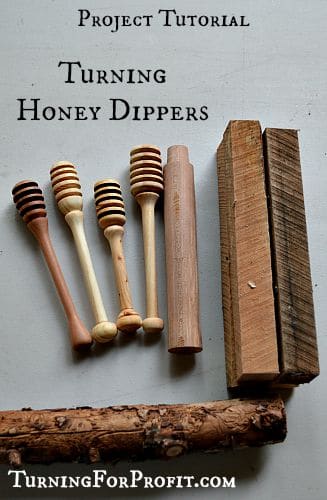
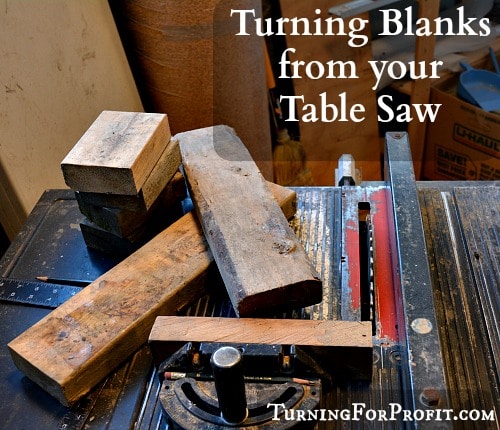
Just under an inch in diameter, you can use small branches or trim the wood 1” square on your table saw. Make sure you use appropriate safety devices to keep your fingers safe. This is a great way to use local wood, such as cuttings from your neighbor, or local species. I turned honey dippers out of Jack Pine, Larch, and Birch, all found on my property. I would stay away from oily wood as that might taint the honey. Don’t use any wood that is toxic. The next picture shows finished dippers, a larch branch, and three dogwood turning blanks, one turned round and ready to go.
Tools needed:
- Roughing gouge – to turn the blank round
- Parting tool – to cut grooves in the dipper
- Skew Chisel or Spindle Gouge – to shape the dipper and handle
- Sand Paper – various grits (I used 150, 220, 320, 400, 600, and 800)
- Cotton cloth or paper towel – to wipe the dipper off between grits
- Food Grade finish
Honey Dipper – Inventory
As an item in your inventory Honey Dippers are a good choice. You don’t need a kit to make the product. The design is free hand / creative, that is, there is no standard for the shape of a honey dipper. The handle is completely up to you to design. You can make it as simple or complex as you like. However, this is a utensil so you do want it to be easy to clean.
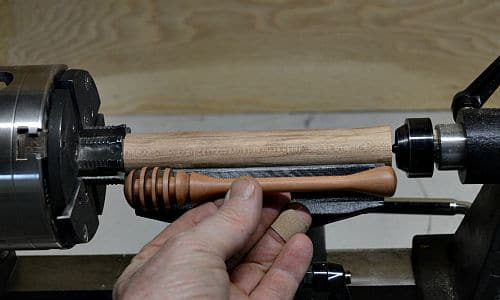
You can turn the honey dipper completely between centers with just a bit of cleanup of each end when you are finished. I used a multiple jaw chuck to hold the blank which means I can completely finish the handle end of the dipper (see pic below). This product is suitable for production runs where you round the blank and put a tenon on it first then move to the multiple jaw chuck for the shaping. Keep your tools sharp and you can turn out two or three in an hour with a little practice. Increase your prices if you are using exotic wood that you had to purchase. Local or found wood are excellent choices for dippers. When pricing make sure the price compensates you for your turning time.
Sometimes a flaw in the wood turns up at the finishing stage. I had cracks and insect damage show up on my larch. Complete the honey dipper anyway. You can use it yourself, as a demo product, or it can go in a discount bin. Unless it is dangerous to use or might break too easily then throw it away. Sometimes the flaw adds to the character of the product. So think carefully about throwing your not-quite-perfect turnings away.
Turning a Honey Dipper
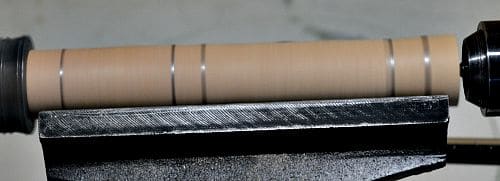
I started with the prepared dogwood blank being turned round and a tenon to fit into the chuck. The finished dipper shows you where the main features are.
Use a pencil to mark out the rough locations of the dipper and the tapered portions of the handle. I also mark the portions on the end so that it would be easier parting the dipper off of the lathe.
First I trimmed the ends with the parting tool.
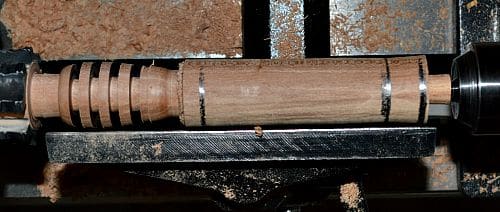
Next I shaped the dipper end of the honey dipper. You can cut the grooves first and shape second if you want to.
Cut the grooves into the dipper. I like to look down on the dipper as I’m doing this so that I can line up the depth of each groove and keep it all the same. If you find that your parting tool is burning the wood then the tip of your tool is the same width (or less) than the body. Your parting tool should have a tip that is slightly larger than the blade of the tool, to reduce friction on the wood.
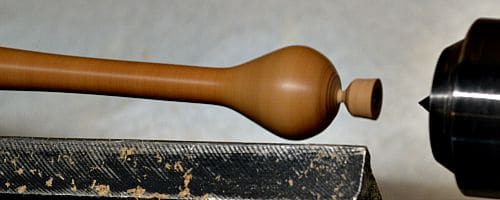
Shape the handle to your taste. Define the dipper end and create an attractive top for the handle.
Finishing Your Honey Dipper
Sand and finish the body of the honey dipper. I use progressive sand paper starting at 150 to 220 grit depending on how smooth I was able to shape the spindle. Between each grit change I wipe down the turning with either a cotton cloth or a paper towel. This removes any grit that might have fallen off of your sand paper and prevents a higher grit accidentally scratching your work.
To finish the handle end work your way down so that there is just a little nub left on the dipper. Then move the tail stock out of the way and support the dipper with your left hand and finish the end with a skew chisel or spindle gouge. Sand and finish that end of the dipper.
Now part the dipper off of the lathe, again using your free hand to support the honey dipper. If you are not sure on doing, this then take the dipper off the lathe and use a saw to trim the end, sand paper it smooth, and finish to match the rest of the dipper.
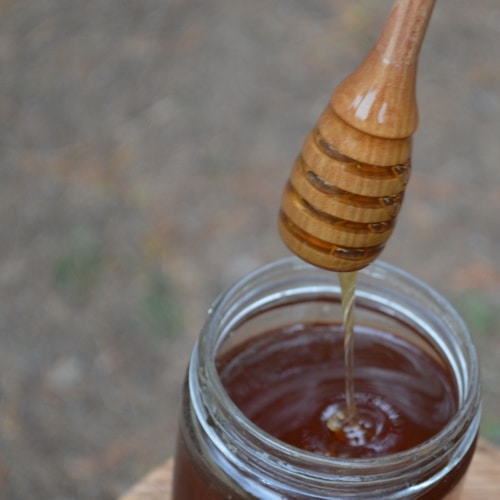
One honey dipper turned and finished, ready to spread the honey.
Have you turned a honey dipper? What wood did you use and what shape was your dipper? Let me know which shape you like the best. Enjoy.










Great idea, cant wait to turn one of these.
Thank you. Have fun with the project.
Beautiful!!
Thank you.
Please would you tell me the make and model of lathe you use in this project. I’m looking online to purchase one.
Can I use it for wood and metal?
Thank you
Richard
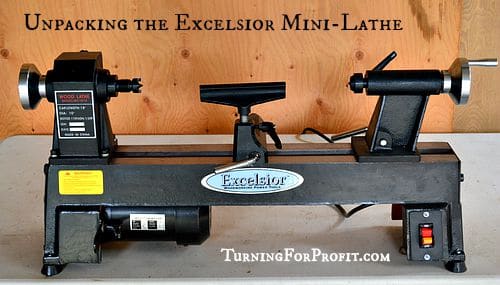
The lathe is an Excelsior lathe from Rockler. How to choose a mini-lathe. Unpacking the mini-lathe. It is sold as a wood turning lathe. I do not know anything about metal turning except that I believe it is more precise. Lee Valley in Canada has a mini-lathe that they say is suited to both wood and metal turning. Going through my woodcraft catalog they do not mention metal turning on any of their lathes. Thanks for your comment.
I have never been a woodworker unless I count that goofy shelf I made in shop class in junior high. I use one of my grandpa’s cutting boards every day in the kitchen. I love thinking about the work he put into designing and making it.
Good to meet you and thank you for your comment.
My biggest obstacle in building an inventory is financial.
Buying wood can be expensive. The nice thing about wood turning is that reasonable branches can also be turned. Since the honey dipper is about 3/4″ in diameter, and the handle is smaller, you can use branches as your supply. I have some other ideas for finding wood in this blog article: https://www.turningforprofit.com/9-sources-for-local-wood-for-turning/. I hope you can find some wood to turn.
Greatest obstacle is having money left after expenses to build inventory.
Thanks for your comment. It can be a challenge to build your inventory. Try looking for local wood especially in the fall as people are cleaning up their yards. This article also has some other places to look for wood. https://www.turningforprofit.com/9-sources-for-local-wood-for-turning/ I would encourage you to turn projects like the honey dipper that don’t require expensive kits just the wood for the project. Hope you do well with your turning.
lovely!
Time and lack of funds! Working towards a solution but it’s not a quick fix.
I want to try one of these for drizzling chocolate on baked goods! Would be so cool to win one of yours!
Nice
Thank you!
Our biggest obstacle is time. It is so hard to find time to build up our inventory.
Beautiful !!!
Like the blog! Already followed your beautiful work on FB…
I am not a woodworker, but we used to have one in the family, and I did do some sanding, staining and painting. Nothing turned, just artsy crafty stuff. Your work is beautiful. Thanks for the chance to win and Happy Thanksgiving.
What a wonderful giveaway! Thanks for offering. I follow Sarah and Chris, so grateful to know about your page.
I follow Chri and Sarah, so glad to find your page! Thanks for the wonderful giveaway. Happy Thanksgiving!
Beautiful!
So beautiful!
What a beautiful product.
These are beautiful!
Can’t wait till morning so I can show my son this.
Is there any wood that should not be used to make a honey dipper? I have a lot of red Cedar & would like to use that if it’s OK. Thanks.