When presented with an empty honey jar from Pooh, Eeyore is delighted. It is a perfect place to put his present from Piglet, a deflated red balloon. Everything works out in the end. Turned lidded boxes are also perfect for storing small articles or knick knacks. The inspiration for this project was a post on Pinterest for a guitar pick box. I thought a small turned lidded box would be perfect. So let’s get busy and see what we can create.
Design Considerations for a Lidded Box
A guitar pick is not very big. So a small box will work. I like the idea of a clam shell box so both the top and bottom are rounded. The box will need to be easy to open but should be a snug fits so the picks don’t fall out. So let’s put a bead above and below the joint so that the fingers can make a good connection.
The orientation of the wood grain is parallel to the lathe and you can use spindle or bowl gouges to do the hollowing. The grain at the ends of the box (cap and base) will not be as strong so turn these areas thicker than you normally would or you risk tearing a hole in your lidded box.
Evaluate your Wood
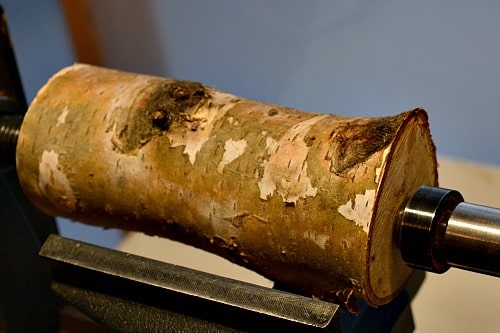
I used a spalted Birch branch for this project. It was what I had on hand and it was a good diameter for a small box. I was concerned that the spalting might have made the wood too soft. However the wood was nice and solid. When working with spalted wood you want to catch the wood after it is spalted but before it has become soft and punky.
For crisp clean lines use a hard wood. For softer designed boxes you can use a soft wood.
5 Steps to turn a lidded box
There are five steps needed in turning a lidded box. The goal is to minimize the number of times you mount the wood in your chuck. Each time you mount the wood you will lose some of the wood because the blank will not quite be on center.
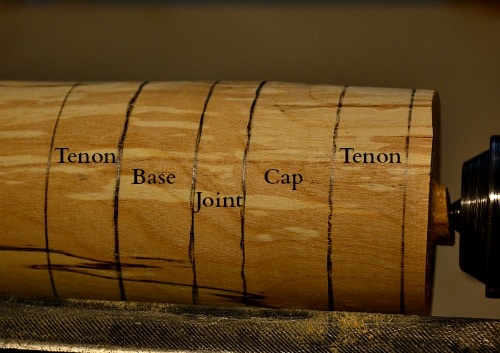
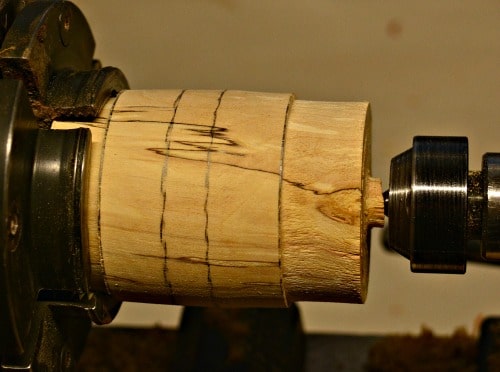
- Turn the blank round. Make two tenons on the blank (one at each end). Mark the cap, joint, and base on your turning blank.
- Part your blank at the joint between the cap and the base. Make sure the base gets the tenon.
- Mount the cap on the lathe. Fit the tenon of the base into the cap with a good fit. Finally hollow it out.
- Mount base on your lathe. Put the cap on the base. Turn your entire lidded box round, if needed, and finish the cap.
- Remove the cap. Hollow the base. Shape the base. Part the base off the lathe and complete your finishing.
Process for turning a lidded box (in more detail)
- Mount your turning blank (or branch) between centers. Ensure that it is securely attached between the headstock and tailstock.
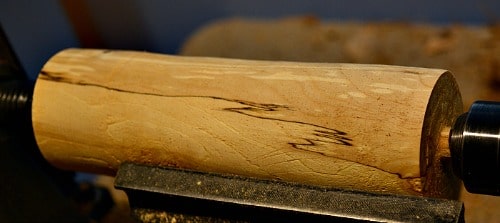
- Turn the blank round. If you want to leave the bark on any portion now is the time to make that decision
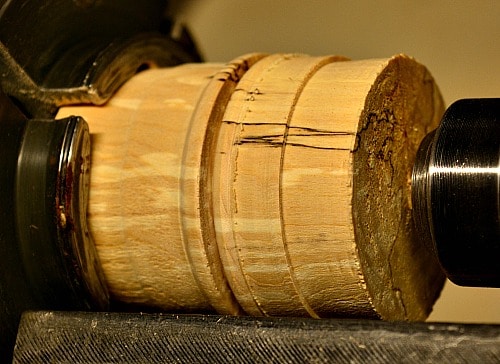
- Mark the parts of your lidded box on the turning blank. You need two tenons, a cap, base, and a joint in between them.
- I mounted the cap end with the multi-jawed chuck but you could have parted the two parts of the box while you were between centers.
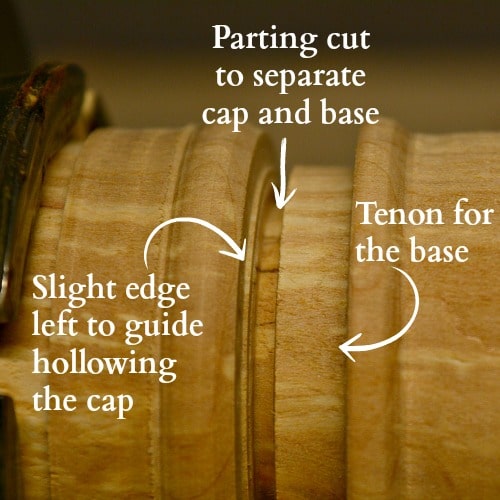
At this point part down the joint between the cap and the base. The depth of your cut will be the wall thickness of your box. Decide ahead of time how far down to part. Make this part smooth and parallel to the lathe.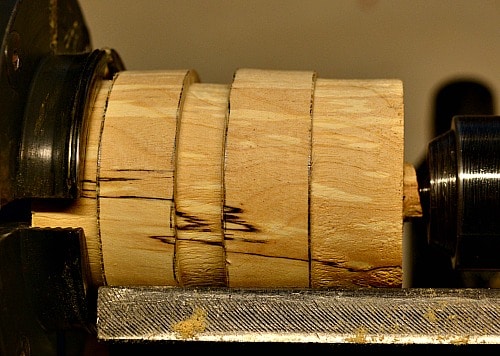
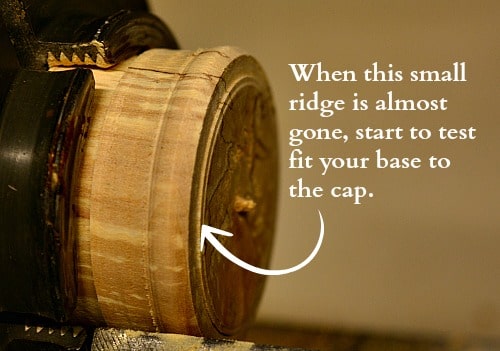
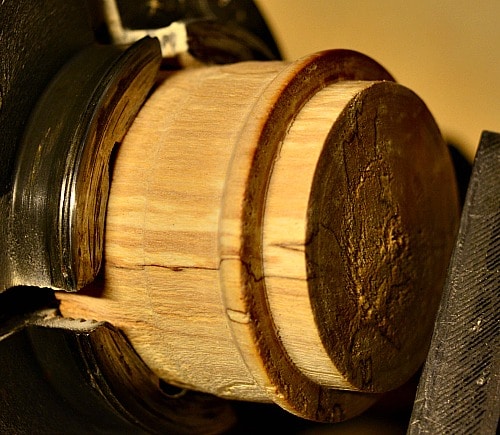
- Time to part between the cap and the base. Move your parting tool up slightly from the cap so that a little ridge or bump in the wood is visible. This bump is the same diameter as the tenon on the base!
- The cap is ready to turn. The bump or ridge is obvious.
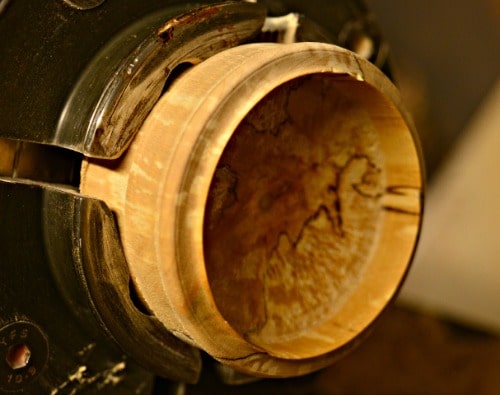
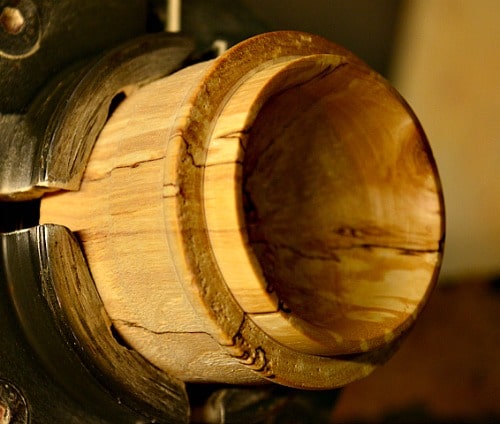
- Hollow out the inside of the cap into the shape you want for your cap. (If you parted your box off between centers then mount the cap on the lathe with the multi-jawed chuck.) The wood is oriented with the grain parallel to the lathe. This means that you are hollowing end grain. You can use a spindle gouge or a bowl gouge to do your hollowing. Remember that the end grain at the top of the lid will be weaker than the walls. So make sure the thickness of your cap is more than you would usually have for a bowl. If your wall thickness is 1/8th inch I would make the cap thickness at the top at least 3/16ths of an inch if not a full 1/4.
At this point the cap is mounted and you can sand and finish the cap. Remember to move through your sandpaper grits from coarse to fine. In between each grit size wipe the turning off with a soft cloth. Complete by applying the finish of your choice. I used wood polish on this box.
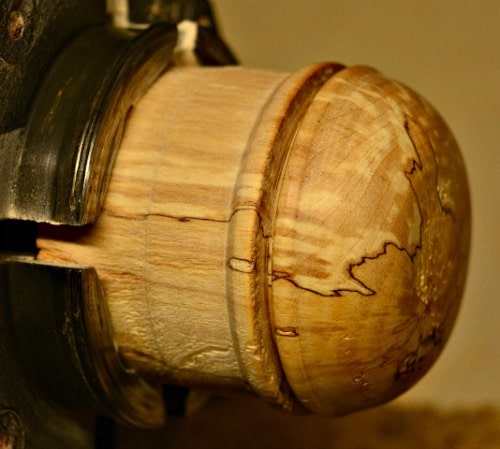
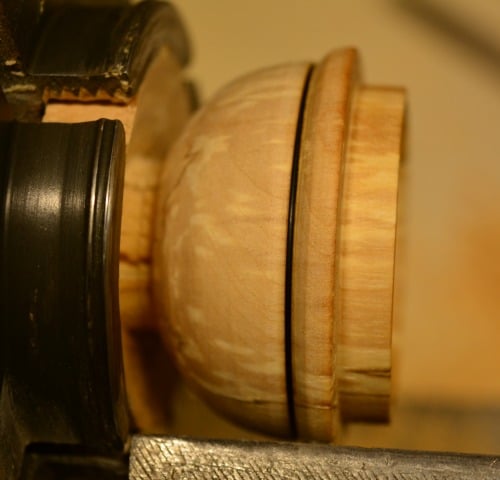
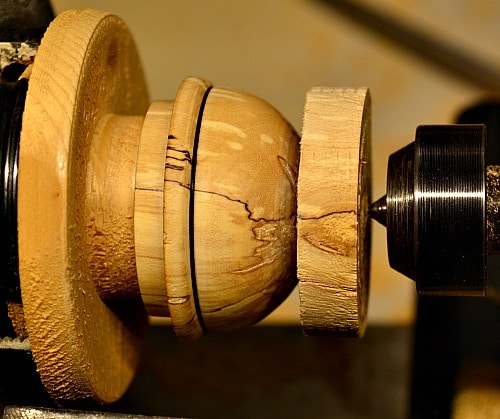
- Remove the cap and mount the base into the chuck. Then mount the cap on the tenon of the base. If by chance your cap and tenon are loose then use some paper towel to tighten the joint.
- Now you can turn and finish the outside of the cap. Keep the tailstock in place for as long as possible. You don’t want the cap flying off and getting damaged. Remember to sand and complete the cap.
- Remove the cap from the base. Now you are ready to hollow out the base of your box. Remember to leave the tenon thick enough so it won’t break when inserted into the cap.
- Hollow the base and remember to leave a good thickness on the bottom of your base because of the end grain. I would finish the inside before shaping the outside of the base. You have extra wood that will give you more support when you are sanding.
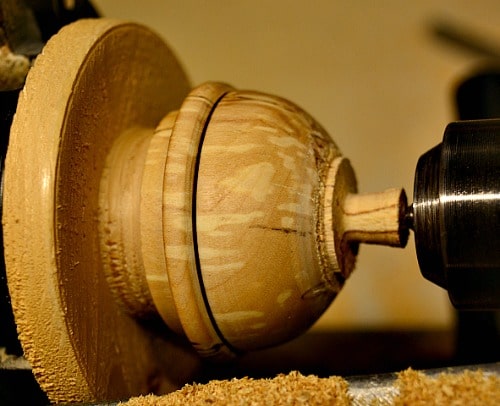
- Shape the base and add embellishments as you see fit. I added a burn line just below the bead. If you are going to simply part the base from the lathe and be done then sand and finish the base before you part it completely.
- Another option is to turn a wooden jam chuck that the base can fit on. Again bring the tailstock up for additional support.
This was a fun project. The key to a good box is turning the box round when you have the base mounted and the cap on the base as well. Then your entire lidded box is symmetrical.
I faced a couple of challenges with this project.
- I caught my spindle gouge when turning the bead on the cap. The spalted wood tore quite deep into the box. So instead of a bead I switched to a cove on that half. It looks okay and gives a good place to grip the box as well.
- The other thing I would do is give myself more room between the top of the cap and the tenon used to mount it. Same for the base as well. So on step three I would insert some “scrap” wood between the tenon and the cap and between the tenon and the base. Because it was a small box the hollowing went much faster and deeper than I expected. So I was actually trying to shape the base within the multi-jawed chuck. That was why I needed the jam chuck to complete the project.
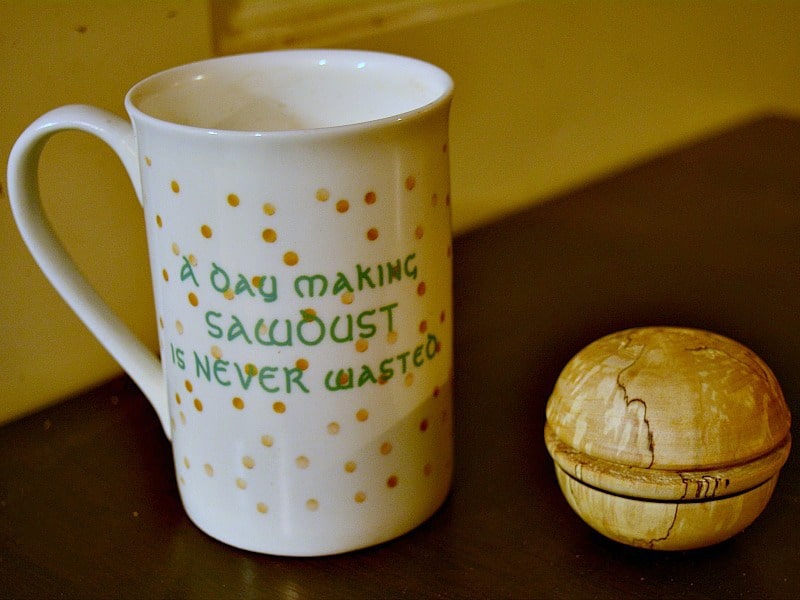
The finished guitar pick box is 2 and a quarter inches in diameter and just less than 2 inches tall. It fits nicely in my hand and holds all my guitar picks! The base ended up being more rounded than the cap so it sits better upside down.
Here are a few other lidded box projects you will enjoy:
Turning a Needle Case
Turning a Mushroom Box
Turning a Cremation Urn
Turned lidded boxes are great and can be all sorts of different shapes and sizes. The five main steps above are what you need in order to have a successful project.
Turning For Profit
If you have any questions about turning, or the business of turning, please leave me a comment at the bottom of the page.
These posts are for you, the woodturner. If you like turning projects or articles related to the business of turning then please sign up for the Turning For Profit newsletter. Generally it comes out once a week and has links to the current articles, a bit on what I am up to, and usually a question for your response. You can sign up on the right side bar or just a little lower on the page.
I love wood turning and sharing with you. You can follow me on Facebook as well. Thank you for joining me on this woodturning journey. Have fun and remember to turn safely.








Hi Robin,
I enjoy your web site. I notice you use tree branches for many of your turnings. I would expect the pith to give you problems. How do you keep the top and bottom of your turned items from cracking over time?
Karen
Hi Karen,
I do turn a lot of small branches. Usually the pith is a small amount and does not affect the turning project. With the lidded box project the area with the pith is quite thin and should be able to adjust as it dries. If I was turning a larger piece out of a good sized tree trunk then I would avoid the pith area. There would also be more wood to play with as well. Thanks for your question.