This is a quick and easy project. A spinning top can be made from some of the smaller pieces of wood lying around the shop or from local wood. The top needs to be an inch in diameter, or larger, to have good inertia. The handle should be a narrow diameter so that it can be snapped easily with the fingers. To extend the duration of the spin I turn my tops with a low centre of gravity. Most of these tops will spin for a minute.
Production Steps
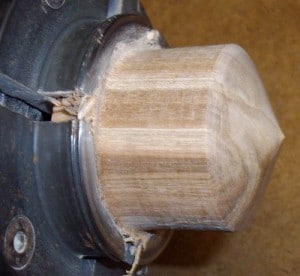
First turn your piece of wood round between centres. Set the diameter of the wood slightly larger than the smallest inside diameter of your multiple jawed chuck. This will ensure that you get a good grip on the wood. When starting out don’t try to turn tops off of wood longer than 4″ in length. Catching the wood beyond 4″ creates torque that will cause the wood to be released from your chuck. You can also use the end wood from another project. I am turning a top from the remainder of the wood used for the wooden grommet project.
Second turn the bottom of the top with either a spindle gouge or skew chisel, I have used both. While I like a nice straight bottom it is not necessary. The crucial problem is getting a clean point, dead centre, for the top to spin on. Remember that this will be close to the surface that the top is spinning on and not very visible.
Third, shape and decorate the edge of the wooden top. I like to have a straight edge getting smaller in diameter. Using a skew chisel I cut a small V that will hold a piece of wire. Holding the wire in the V cut while the lathe is spinning will burn the wood and give a nice decoration. The wire gets quite hot so either use wooden handles or a long piece of wire so that your fingers don’t get burned.
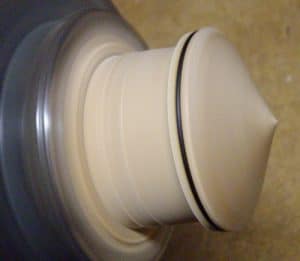
Fourth, pare down to the handle of the top. You can use either a spindle gouge or a parting tool to remove the wood. Use what ever you are most comfortable with. I use a spindle gouge when the top is away from the chuck. In this case since the top is right against the chuck I have used the parting tool. Plan the shape of the handle remembering to make it fairly small so that it can be snapped quickly with the fingers to set the top spinning. Most of my handles are between 1/4″ and 3/8″ thick at the top. Don’t pare down too far on the handle just yet. You need a good connection left so that your sanding and finishing doesn’t snap the top from the remaining wood.
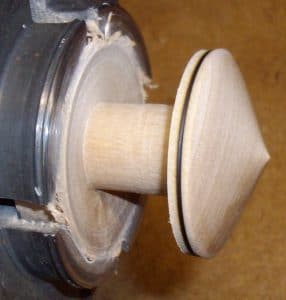
Fifth sand and finish your top.
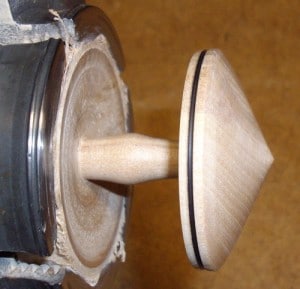
Depending on your skill level and how smooth the surface is on your wooden top you could start with 200 grit sand paper and progress to higher grits. When sanding the bottom of the top try not to round over the point of the top. If the point is rounded over the top will not spin as well. You might need to touch up the point with your skew chisel if that happens. If I need to shape or smooth the handle I’ll start with a 120 grit. If you find it awkward to fit your fingers in to sand the handle, here’s a tip that will help you out. The finish I used on the top was a “fruitwood,” Watco Danish Oil stain.
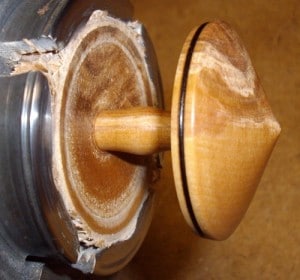
Sixth, part the top from the wood. When you are at the chuck end of the lathe make sure that there is room enough for the parting tool to fit in without hitting the spinning jaws of the chuck. Once the top is parted off sand and finish the top of the handle.
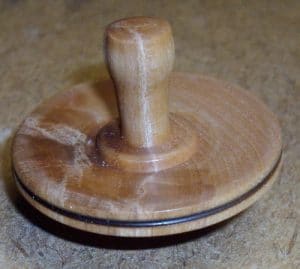
Now find a flat surface and give your top a test spin.
Back to You
Have you made a top? How did it spin? What do you like to turn out of the small pieces of wood that are left at the end of the project? Leave a comment and enjoy making tops.










[…] This project is turning a wooden top out of cherry wood. A quick project for my new mini-lathe using a one way chuck. For specific instruction on turning tops here’s an earlier post on Turning Toys – Wooden Tops. […]