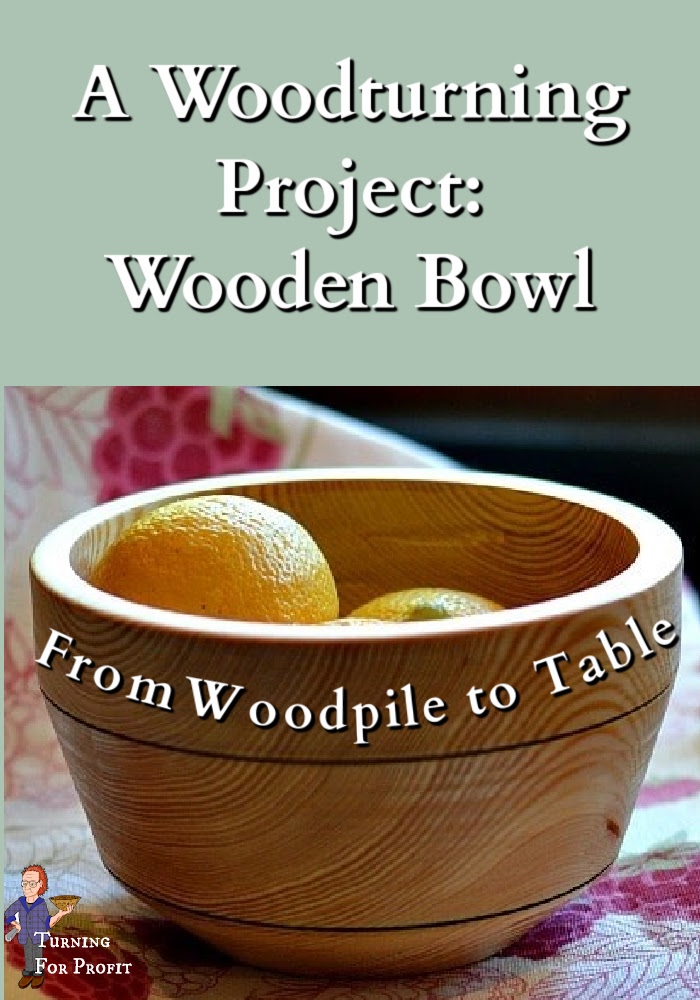
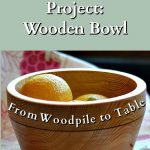
From the woodpile to the dining room, making a turned wooden bowl from larch.
A Woodturning Adventure
Firewood! This is what keeps us warm in the winter. We have a lovely wood-fired cookstove in our kitchen. Weekly chores include splitting enough wood and hauling it to the house for the week. Usually, all I want to do is split and haul the wood and run back into the warm house. It is winter after all.
Last February, as I was splitting our weekly firewood I realized that most of what I was splitting was half rounds of western larch. I thought it would be fun to turn some bowls out of these rounds. The wood is already seasoned and just needs to be turned. What would I get?
Setting aside three rounds I waited for some free time. Well since the free time never happened I’ve decided to plow ahead and turn a wooden bowl.
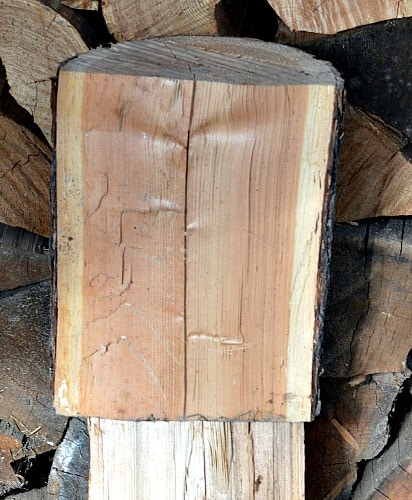
Evaluate and Mark the round
I looked over each round and marked out how I would use it for bowls. If the ends showed a lot of splits then I took the bowl out of the middle.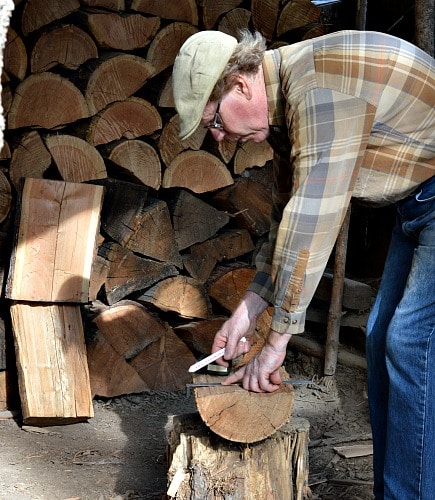
As my mini lathe has a depth of 5” that limits me to just under a 10” diameter bowl. I used pails and lids to put circles on the rounds. You don’t need super accuracy here but the general idea of what will be bowl and what can be cut away on the band saw.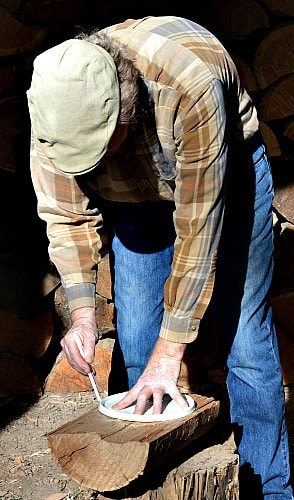
Trim the blank
Once the cut lines were marked on the firewood rounds I went and visited my band saw. Using the band saw to roughly turn the blanks circular reduces the wear and tear on my lathe. There will be less vibration and it won’t take as long to turn round. (That’s right; sections of trees that are set aside for firewood but still need to be split are also called rounds.)
The band saw did a good job of removing the outside portion of the bowls.
Attach a face plate to the bowl blank
The next stop was a quick one at my workbench. I secured the bowl blank in my vise and used a hand plane to flatten the surface of the blank. I used 1″ wood screws to attach the face plate to the bowl blank. I wanted to get a secure place for the face plate to attach to.
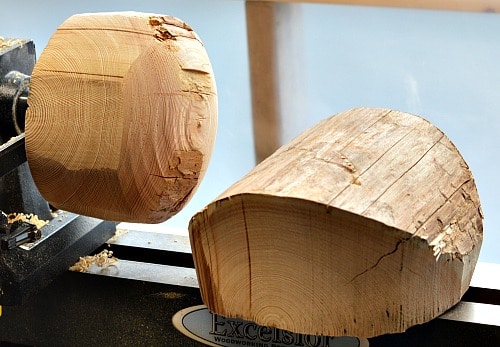
With the face plate attached to the shaped round, it is off to the lathe. So one blank is attached to the lathe and the second is resting on the bed of the lathe. You can see the cracks and imperfections in the blanks. These will have to be turned away to reach the final bowl.
Initial cutting on the lathe
These are not perfectly round, so always wear a face shield. Taking light cuts, with a bowl gouge, I slowly worked the bowl round.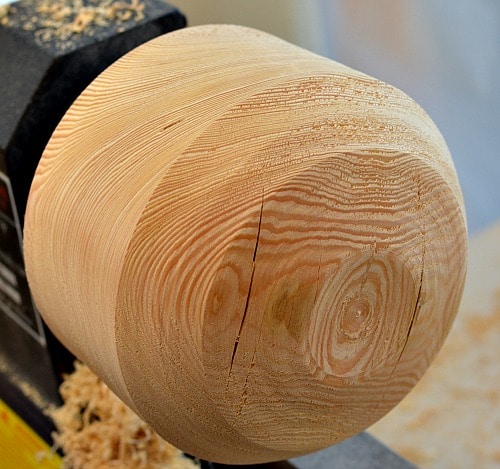
Turn the outside of the wooden bowl
The face plate will be the top of the bowl so I turned a tenon on the bottom for my multi-jawed chuck to grip the blank. When I flip the bowl I will then hollow out the inside of the bowl.
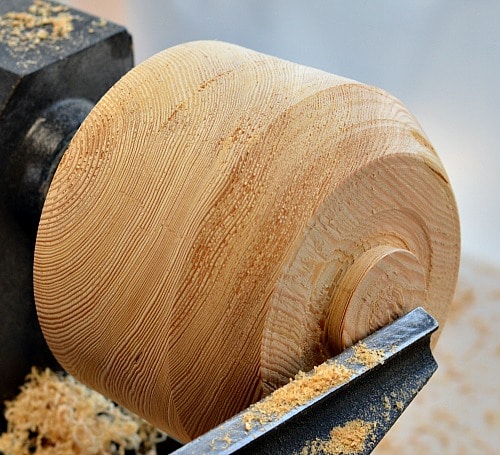
This is where you create the shape and style of your wooden bowl. Your outside dimension and shape will determine the inner shape of the bowl.
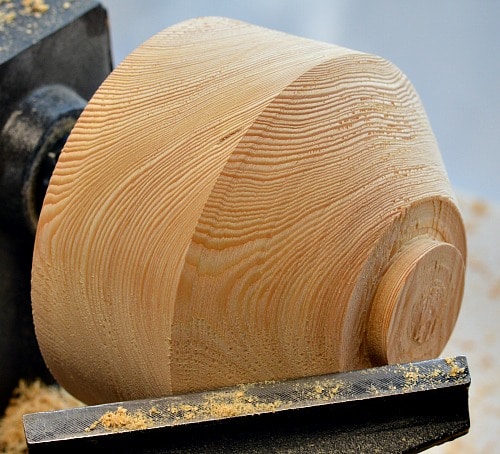
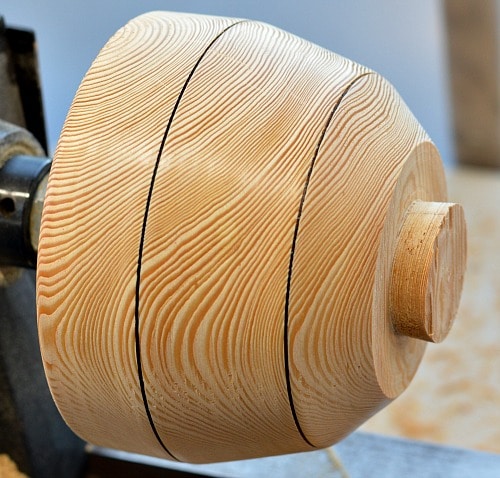
Working on the outside of the first bowl, I liked the diameter and depth but wanted something a bit different than a curved bowl. So I shaped the bowl into three distinct sections. To turn the outside of the bowl I used a 3/8ths inch bowl gouge and my spindle gouge. Do not use the spindle gouge on the inside of your bowls. The bevels are ground differently and will not support your cuts.
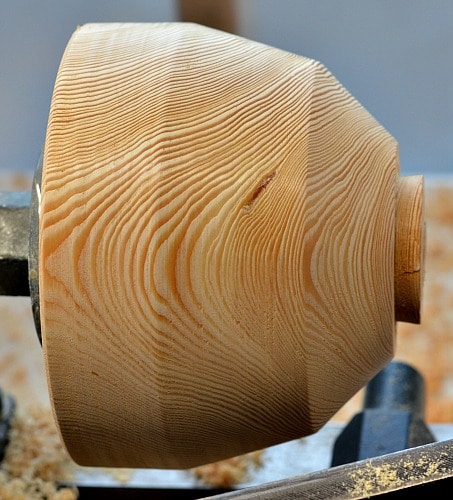
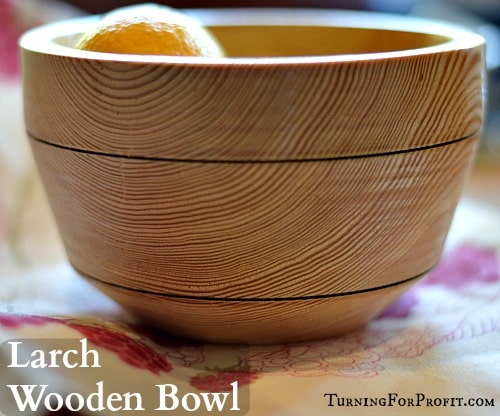
This is where you consider the shape and styling of your wooden bowl. I shaped it into three sections then added burn lines to emphasize the transition points.
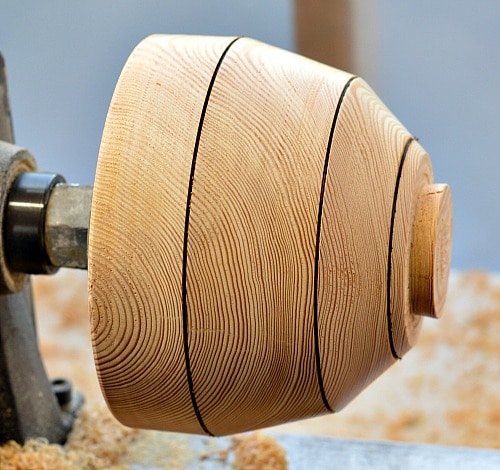
My first bowl had a tenon of about 1/4”. It split off of the lathe when I first reversed the bowl. I reattached the face plate and turned a 1/2″ tenon and that held much better although I would now have a shallower bowl. That is why one of my three burn lines disappeared! So with a better tenon, this is how my bowl is turning out.
Turn the inside of the bowl
I forgot that flipping the bowl around and mounting it by the tenon will make the bowl go out of round. I had shaped and finished some burn lines on the bowl. After I had flipped the bowl I realized that I had to true the bowl again. This resulted in removing most of the burn lines! However, it was easy enough to use a skew chisel to make the grooves and burn the line with wire a second time.
Working inside the bowl I used only the bowl gouge and a heavy 1” scraper. I made the wall thickness just under 1/2”. I did the internal turning in steps so that I had more support for my tools.
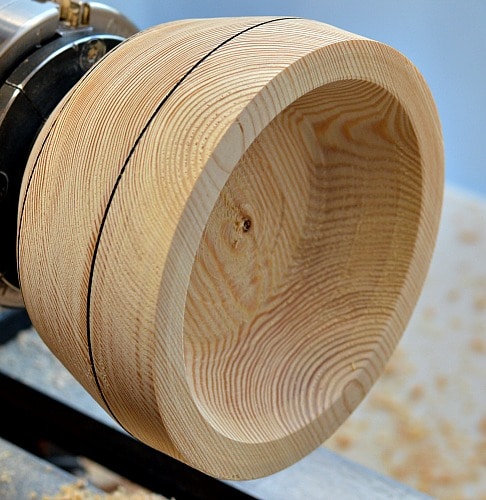
Each step was about 1” in depth. Angle the tool rest into the interior of the bowl to give you better support.
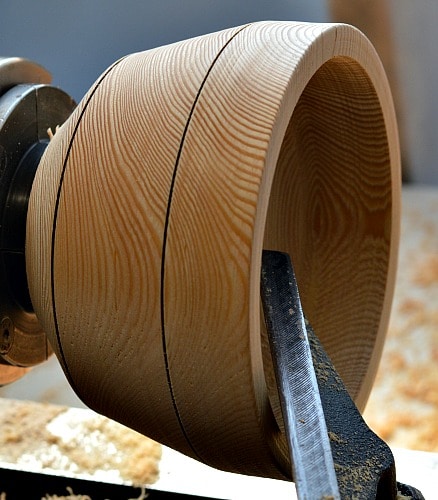
This means that my tool, when turning the edge of the bowl thinner was only 1” or less away from solid wood. If I had hollowed the bowl down the entire depth initially then, when I would be shaping the lip of the bowl, I would be about 4 inches away from the bottom of the bowl. There would be a lot more vibration and a greater challenge in getting a clean cut.
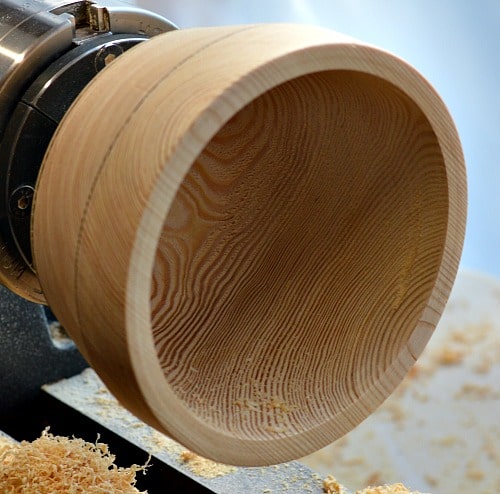
The scraper smoothed out the wall of the bowl. I then sanded the inside and outside of the bowl. I used 220, 320, 400, 600, and 800 grit sandpaper. Remember to wipe the turning down in between each grade of sandpaper. At this point, I added a finish of carnauba wax.
Turn and finish the bottom of the bowl
Again I remounted the bowl by expanding my multi-jawed chuck along with using the tail stock for additional support. It was a bit of trial and error to get the bowl running true before I finished the bottom of the bowl. In turning the bottom I took light cuts with my bowl gouge.
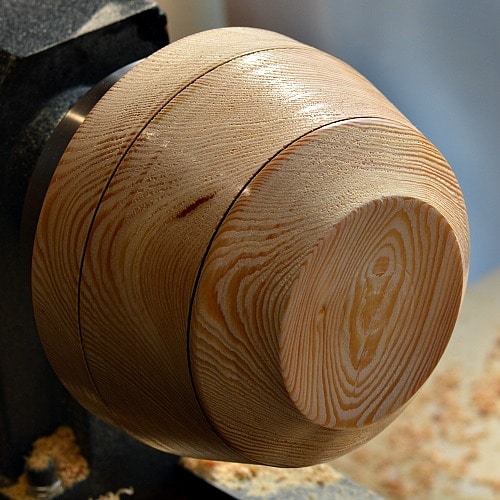
Once the bottom was flat I sanded and finished the bottom.
So that is in my first larch wooden bowl. Two more are waiting to be turned. I wonder what shape they’ll take?
I hope you enjoyed the project. If you are interested in other woodturning projects click my project page. I am creating new projects and writing about the business of turning. You can stay up to date by signing up for my email newsletter. (It’s at the top right of every page.) I look forward to hearing from you and send me a picture if you turn a bowl as well.





What are your tools of choice when turning bowls? Have yuou made any tools yourself? What is your recommendations for new turning tools? Have you used any of the carbide turning tools? Your work looks great. Where do you live in BC?
Hi John. Thanks for your comment. I’m using a 1/2″ bowl gouge as the primary turning tool on bowls. I also have a heavy duty 1 1/4″ rounded scraper that is really nice to use. I have not tried any of the carbide tools yet. I live in Greenwood, BC. Great place name for a wood turner!
Hi Robin, I’ve been reading and enjoying your weekly articles for many years. A friend in Red Deer, AB had a large Larch tree come down a year or two ago and I was the happy recipient of two large logs which I was able to do 4 bowls from. Two live edge and two regular salad bowls. It was a treat to rough turn and later to finish turn. Made two large salad bowls 12” and the other two natural edge came out to13”. I love the grain in Larch and I got rather lucky with the bark with the Natural edge. The colour has remained long after turning. We use one for a salad bowl regularly and the other to display. My friend has the other two and they have been a hit. How can I post pictures I have on my IPad?
Thank you for your encouragement. I’ve responded to your email.