This is my second woodturning workshop. My first woodturning workshop is described here: Woodturning Workshops I – A great way to learn. I spent three days at Lee Valley Tools in Kelowna in October of 2016, taking woodturning workshops. I have been turning for around 20 years. The school of hard knocks was my first teacher. Then I went and read books and watched some online videos. A DVD on turning and an internet course rounded out my woodturning schooling. I could turn lots of projects but was I a good turner?
I am following Mr. Ed Pretty, from Vancouver, on Facebook, and I liked his stories and his style of woodturning. He was teaching three workshops. As Kelowna is a good distance from my farm I signed up for all three days of woodturning workshops. I enjoyed myself immensely and highly recommend that you take a few woodturning workshops as well. These are the things I learned at the second woodturning workshop, how to make a hollow form vessel without special tools.
Woodturning workshop – Turning a hollow vessel
Turning two halves of the hollow vessel and joining them together was the process. This is an obvious solution to the challenge of making a hollow form. Ed Pretty helped us go through each step required. He showed us several turned items where he was able to “hide” the joint using decoration and texturing to make it less obvious.
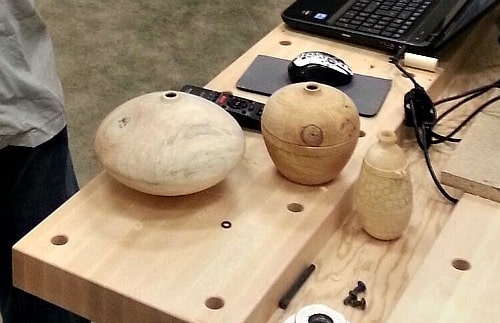
Along the way there were lots of tips on how to turn bowls. This technique requires a multi-jawed chuck. The chucks we used were built by Nova in New Zealand. I own a One Way Talon chuck which is a bit larger in size and built in North America. The most frustrating aspect of these two chucks, however, is that they open and close the jaws in the opposite manner. Clockwise opens one while it closes the other. The number of times I loosened my work was amazing! It did teach me to always make sure my wood was securely attached to the lathe. Those are the challenges of doing a workshop with different equipment.
Tip on making a good joint
Day number two had us turning a hollow form by making two bowls and joining them in the middle. To hide the joint you needed to part the two halves very close together. You also want the joint to be nice and snug so that you can glue your two halves together and create an actual hollow form.
This is the same process that you would use for turning a lidded box. My hollow form is a lidded box that is glued shut and has a hole in the top. So we need to make a “lid” and a “base” for the box.
This tip was worth the whole cost of the workshop. It is so easy and obvious but if you haven’t thought about it then it is a lot more work. How to part a lid from a base and make it easy to bring the two pieces together is the challenge. Here’s the process.
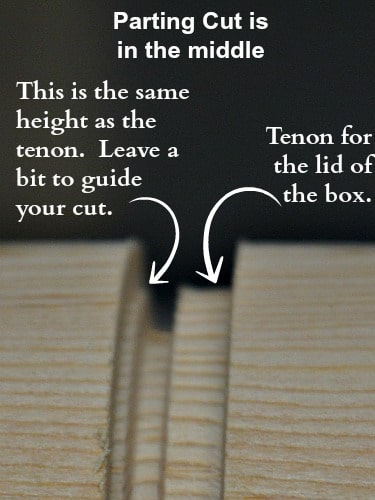
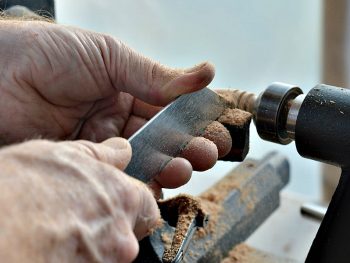
Using a parting tool cut a small channel or groove, about 3 times the thickness of your parting tool and 1/2 the thickness of your wall as the depth. The width of the groove needs to be the depth of your tenon (on the lid to fit into the base) plus the thickness of your parting tool to part off the work, and two smidges extra. The smidges are the trick.
Move your parting tool just a smidge off of the edge of the groove. In other words don’t part off by going straight down the wall of your groove or channel. That little bit of wood is going to match the tenon you are making on the other half of the wood. This little trick can be used whenever you are turning lidded boxes. You now know where to cut for your joint. Here is a little box that I turned using this technique.
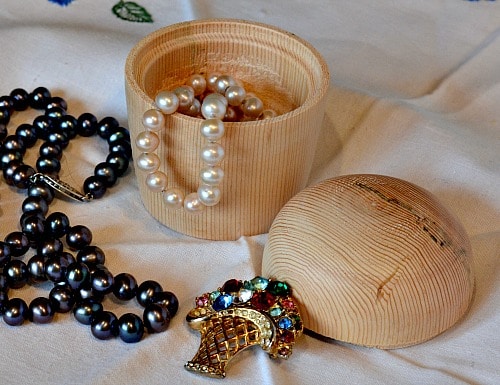
When I used to make lidded boxes it would take me a long time to sneak up on the hollowing of the base so that the lid would fit in. With the small piece of wood showing where the tenon is going to fit you can do your hollowing very close to that spot and save a lot of time. (I’m speaking from experience here!)
Tip on parting wood
The second trick is to again move your parting tool over just a smidge so that the groove that you are parting off is just a touch wider than your parting tool. So if your parting tool is 1/8” wide the groove for your parting off will be just a bit larger. This allows you to angle your tool in past this point and avoid binding and burning the wood. I used this technique in the workshop. This would be perfect for parting off a jar lid.
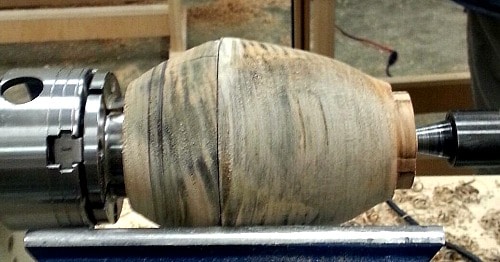
As the pieces we were turning were moderately large and green wood, Ed Pretty, told us to part down to a small diameter and then use a small saw to finish parting off the wood. With small boxes I will completely part off on the lathe. However, with large projects like the hollow form or a cremation urn, when there is a large mass of wood involved sawing off the wood is much safer. I turn the wood as I saw so that I’m moving the cut towards the center of the wood.
Tip for drilling a pilot hole
Using a pilot hole when you are making a bowl helps you in two ways. First the very center of the wood is removed. That little nub can be a challenge to smooth out. Secondly you can sight the drill bit so that you drill down to an appropriate depth for your bowl. This gives you guidance as to where the bottom of your bowl is and that you won’t turn it too thin.
When turning a bowl use a 1/4″ drill bit to remove the center portion of the bowl. Place a rubber washer over the drill bit so you can adjust it to the depth of your current bowl. Use line of sight to estimate the bottom of your bowl with the drill bit resting on the rim. Use your bowl gouge to mark the exact center of the bowl with a slight depression. Hold the drill bit, in a handle, in your hand, as you drill into the bottom of your bowl. Sight across your bowl from rim to rim to see when the washer on the drill bit has come to that sight line. Be careful not to drill to deep into your wood. Here is a bowl where I used this. You can see the small drill hole in the center of the bowl.
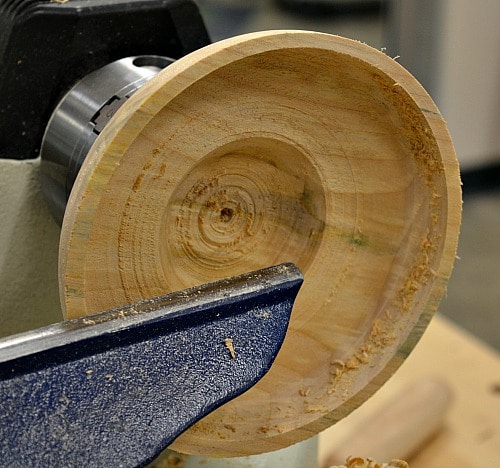
Now you have removed the wood from the center of your bowl and you’ll know when you have reached the bottom as well. Ed Pretty shared that you should not use a drill bit above 1/4” in diameter, because any larger and the bit will grab and twist your hand even if it is in a handle.
Woodturning Workshop
I learned a lot from this woodturning workshop as I had to turn two bowls and match them together. I actually haven’t turned that many bowls so this was challenging to me. Ed was very encouraging to me and all the students. Most of us ended up the workshop with works in progress. For my hollow vessel it was not joined perfectly and the glue would not hold the halves together. By the time I returned home the parts were joined but I haven’t finished the vessel yet. Its coming and you’ll see it here first.
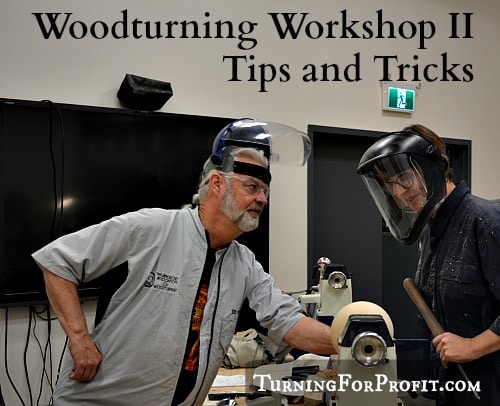
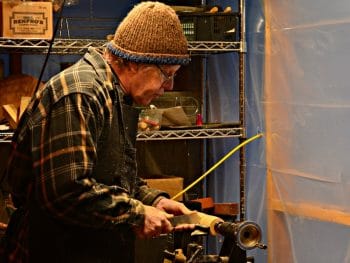
Ed Pretty is a wood artist (turner) living on the lower mainland of BC. He was very encouraging to all of the students and very patient even when asked similar questions each and every day. It was very nice to be challenged and encouraged at the same time. Ed teaches woodturning workshops in Vancouver, BC, and now also in Kelowna!
This woodturning workshop was great. The first day was on turning with spindle gouges and skew chisels. The last day was on turning a bowl from green wood. If you like these posts then please sign up for my newsletter. I’ll let you know when there are new posts on my website every week. I love turning and sharing with you. You can follow me on Facebook as well.
Thanks for reading and remember to turn safely.






I my self love too turn.The only problem I have is my disability.I have too sit down because I can’t stand at the lathe.I love too turn mini bird houses,Pens.Small lidded boxes.I just can’t get the right angles for bowls yet.Ive tryed a lot of thinks but it seems like I can’t get it.But I’m not going too give up some day I will get it and say why didn’t I do it this way all the time.
That is an interesting challenge. Is it the inside or outside of the bowl that you are having difficulty with? I would try different grinds on a bowl gouge for the outside turning and maybe carbide tip hollowing tools for the inside turning? Let me know how you make out. Thanks for your comment.
Thank you for getting back too me.I don’t get on this page very offen.I got my self a new stand that Robust sells.Im getting into turning hollow form Christmas decorations and before I know I couldn’t do it because of the way I had too sit.They are a very nice stand and they turn so you can turn your lathe more.And you can set in a computer chair.He has it on the Robust web page if you want too see how it works.
I can relate to that George, it just kills my back to stand over my lathe for very long. But I did manage to get 6 bowls roughed out this week from some red oak.
Have you ever tried mounting your lathe tilted toward you? Position the table or lathe stand in such a way as to put it almost in your lap. At the same time tilt it forward about 20 degrees. You should experiment with this angle as it’s different of each individual.
Nova once published plans fo such a stand but not sure where you’d find them.